Creation of a cell type
Important
The cells in the model are not always biological cells, but simply agents operating in the environment.
To add a cell type to the model, you need to click LMB on  in the top panel, and then click LMB anywhere under the toolbar.
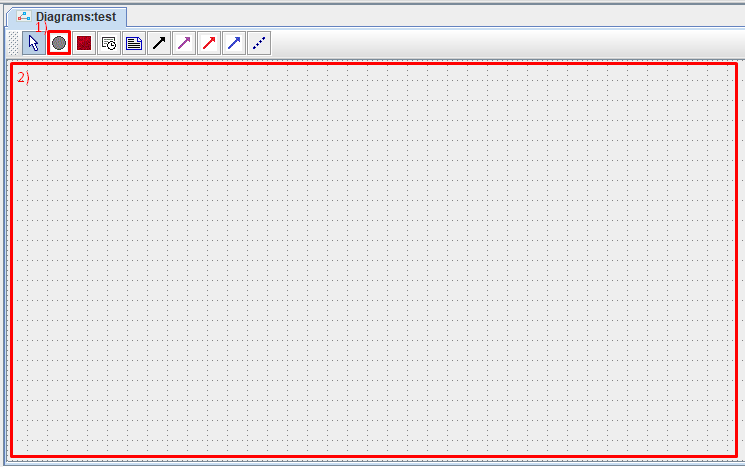
After this, in the window that appears, you need to set the parameters of the cell type to be created:
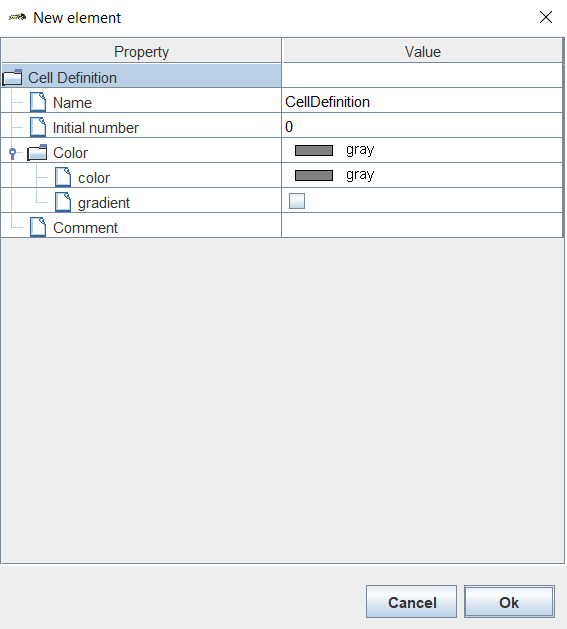
Name: name of the cell type.
Initial number: initial number of cells of this type.
Color: the color with which cells of this type will be displayed when simulating the model.
Gradient: check ☑ if you want to apply a gradient to the selected color.
Comment: you can leave any comments for cells of this type.
Note
When specifying a color in this window, it will be assumed that all the internal contents of cells of this type will have the selected color, the border of the cells will be black, and the nucleus will not be drawn.
For more detailed color settings, use the Visualizer tab or the Custom Visualizer field in the Model Report tab.
Once all parameters have been set, click Ok.
On the screen you will see the designation of the cell type you created.
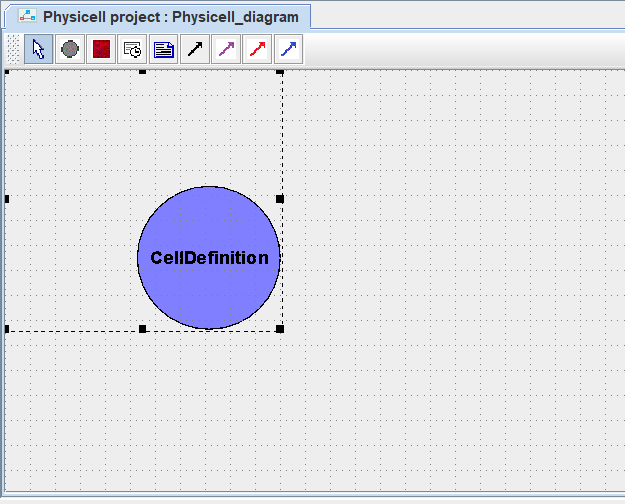
In this way you can create any number of cell types in the model.
To move a cell type on the diagram, you need to hold down its LMB, move the cursor to a new location and release the LMB.
To delete a cell type from the model, you need to click on it with LMB and press the Delete key.
Если вы работаете в веб-версии BioUML, то для удаления нужно:
Нажать на обозначение типа клеток ПКМ.
В раскрывающемся списке нажать ЛКМ на Remove
 .
.
To edit an already created cell type, you need to:
Right-click on the designation of the corresponding cell type on the diagram.
In the drop-down list, click LMB on the Edit button.
Change the desired properties.
Click Ok.